On this page
To vent a chicken coop, start with 1 square foot of permanent opening for every 10 square feet of floor, and put it high above the roost. That is Meyer Hatchery’s rule of thumb, not a building code. This page turns it into a number for your coop, then covers placement, drafts and the winter settings.
Short answer
1 sq ft per 10 sq ftof coop floor, as permanent vent opening high on the wall
A 4 by 6 foot coop has 24 square feet of floor and needs about 2.4 square feet of vent. Keep it above the roost, cover it with hardware cloth, and leave it open in winter.
Ventilation is one half of a dry winter coop. The other half is blocking cold wind at roost height, which is covered in insulation for a chicken coop. The winter coop hub links the rest.
How much ventilation does a chicken coop need?
Plan on 1 square foot of vent for every 10 square feet of floor, and go bigger if you can do it without a draft. Oregon State Extension says to build in as much ventilation as possible without creating drafts or access for predators. The University of Minnesota page adds that the right amount depends on the size of your coop and flock.
Here is the rule worked out. The floor column uses Oregon State’s figure of at least 3 square feet per bird when the flock has run access. With no outdoor access, Oregon State asks for 8 to 10 square feet per bird, which means a bigger floor and a bigger vent. In that case, multiply your real floor area by 0.1.
| Birds | Coop floor at 3 sq ft per bird | Vent area at 1 per 10 |
|---|---|---|
| 4 | 12 sq ft | 1.2 sq ft |
| 6 | 18 sq ft | 1.8 sq ft |
| 8 | 24 sq ft | 2.4 sq ft |
| 12 | 36 sq ft | 3.6 sq ft |
| 20 | 60 sq ft | 6.0 sq ft |
For your own numbers, use the calculator. Enter the bird count and the coop floor area, which is the length times the width of the coop floor and not the run.

Coop ventilation calculator
How much permanent vent opening your flock needs.
Permanent vent opening needed
2.4 sq ft
- 0 sq ft per bird0 sq ft
- 1 sq ft per 10 sq ft of floor2.4 sq ft
- Floor space per bird4 sq ft
- In 12 × 12 in vent openings3
The larger of the rules is the number to plan for. Rule used here is 1 sq ft of vent per 10 sq ft of floor, a rule of thumb from Meyer Hatchery. The per-bird row stays at 0 because no extension source I read gives a per-bird vent figure. Source
Where this number comes from
Meyer Hatchery states 1 square foot per 10 square feet of floor as a rule of thumb for warm-weather climates and does not cite a study for it. The extension sheets I read from Oregon State, Penn State and eXtension explain how to vent a coop but give no vent-area figure. Treat the result as a starting point, and let ammonia smell and damp bedding tell you if you need more.Turning square feet into real vents
One square foot is 144 square inches, so the math converts to openings you can cut. A 12 by 12 inch opening is exactly 1 square foot. The 2.4 square feet an 8-bird coop needs works out to two and a half of those, or one long strip about 6 inches tall and 58 inches long under the roofline.
Three practical notes:
- Measure open area, not the hole. Hardware cloth covers part of every opening, so round up or cut the hole a little larger than the number.
- I prefer two or three smaller vents spread along the high wall, or a gable vent at each end, to distribute airflow. This is my preference, not a sourced rule.
- Count windows only if they stay open. Penn State says that for small coops, windows or vents on one side of the house usually provide plenty of ventilation. A window you shut in January is not a permanent vent.
If your coop is a converted shed or playhouse, start with the roof peak and the top of the walls. Warm, damp air collects there, and those are the easiest places to cut a vent.
Where do the vents go?
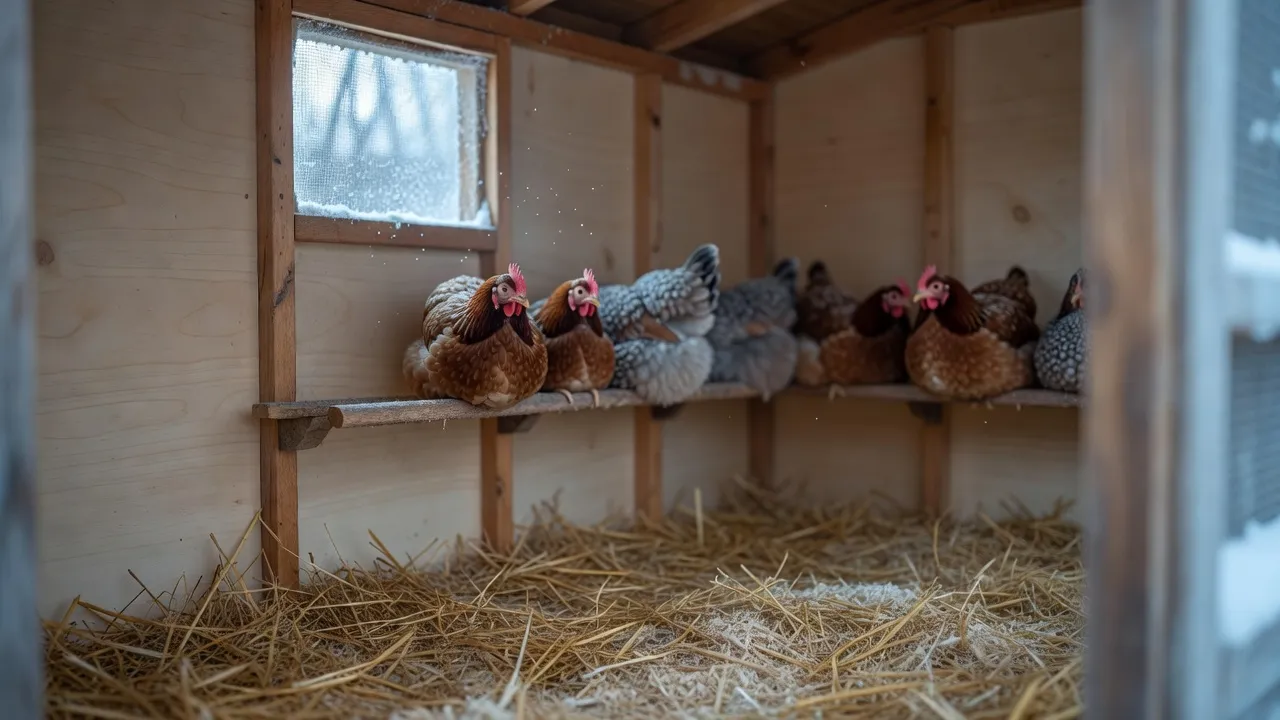
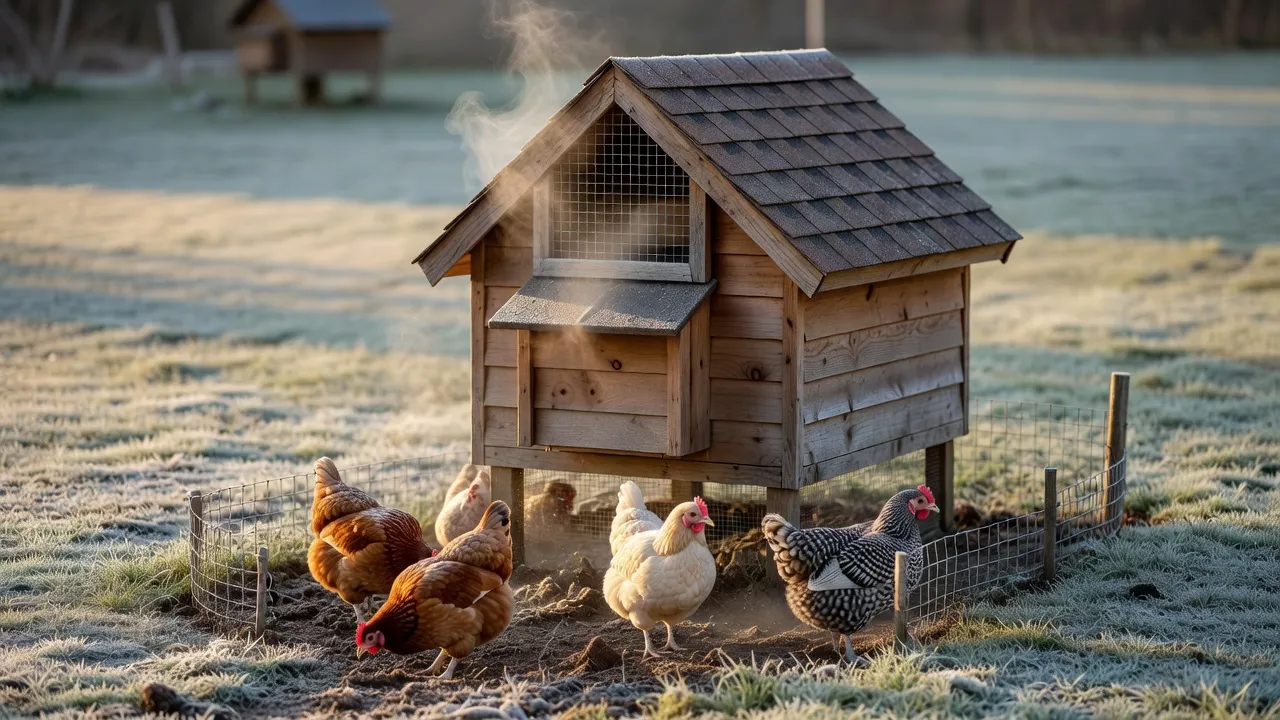
Put them high on the wall or in the gable, well above the highest roost, on the side away from prevailing wind, with a cover over them and hardware cloth across the opening. Each part of that has a reason.
- Meyer Hatchery says vents placed high above the perches work for year-round natural ventilation. In cold climates, keep every open vent well above the highest roosting point and under a cover so snow cannot get in.
- Penn State Extension says not to let vents or windows open directly over the perching area, which prevents drafts. I read that as placing vents high while keeping the stream of air from dropping straight onto the roost.
- The same Penn State sheet, hosted by UT Extension, says to put openings on the side away from prevailing winds, and calls the south or east side usually best.
- Oregon State lists windows in walls and vents in gables, eaves or roofs as the passive options.
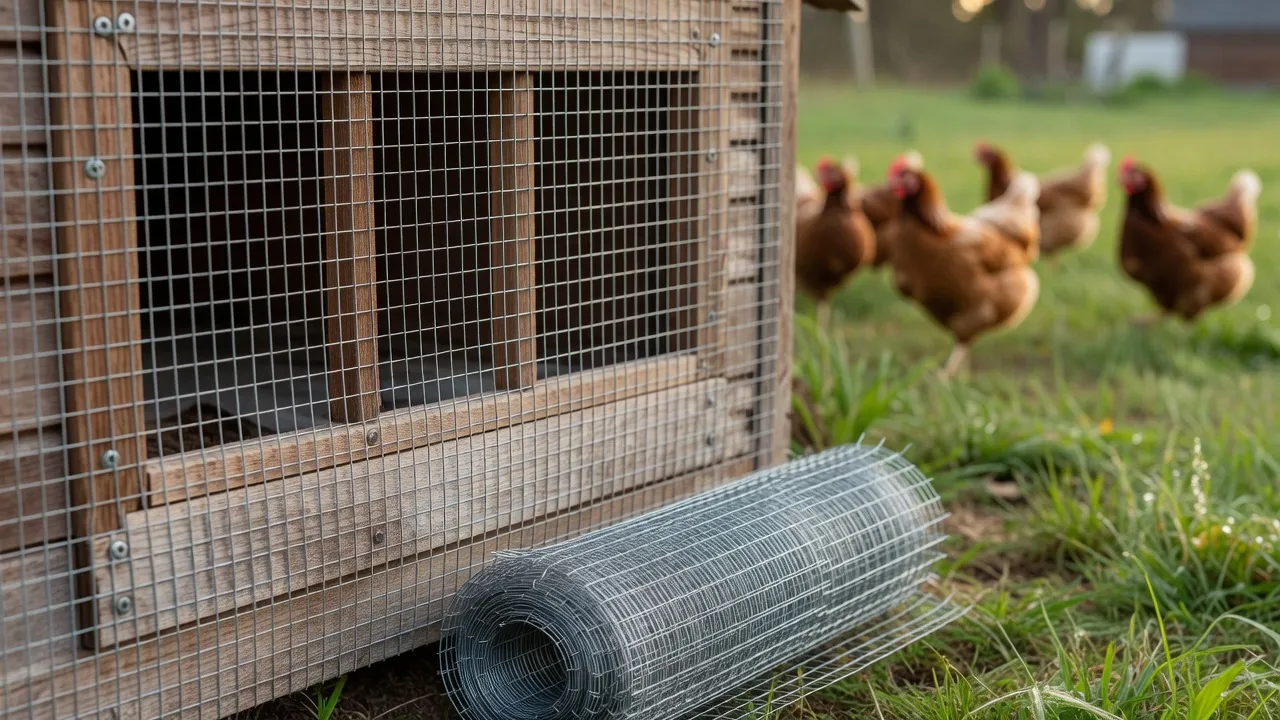
- Meyer Hatchery says to keep vent openings predator proof with welded wire cloth. The hardware cloth guide covers the mesh and how to fasten it.
People often ask what to do when three sides of the coop take the wind, as on a hill. Pick the sheltered side for the vent, hood it, and keep it high.
Drafts versus ventilation
Ventilation moves stale air out above the birds. A draft is moving air at roost height. Oregon State puts the goal in one line: a well-designed coop has adequate air exchange without creating drafts.
You can check it yourself. On a windy day, hold your hand where a hen’s back sits on the roost. Moving air there is a draft, so seal that gap. Then check up high. Air should be leaving through the vent.
| Sign | What it tells you | Fix |
|---|---|---|
| Ammonia smell when you open the door | Not enough air leaving the coop | Add vent area and clean out wet bedding |
| Damp floor or damp bedding | Moisture is staying in | Add vent area, fix leaks, change bedding sooner |
| Water beads on walls or ceiling | Warm, damp air is meeting cold surfaces | Open the high vents, check insulation and vent size together |
| Frostbitten combs or wattles | Moisture and cold together | Cut moisture first, then look at drafts at roost height |
eXtension says a damp floor or an ammonia buildup means the ventilation is not adequate. University of Minnesota Extension says to increase ventilation and clean up manure if you smell ammonia or see moisture on surfaces. It also puts manure at about 70% water, so wet bedding drives the whole cycle.
Not vet advice
Ventilation fixes the coop, not the bird. If a hen wheezes, has watery eyes, breathes with effort or stops eating, call a vet.Summer versus winter settings
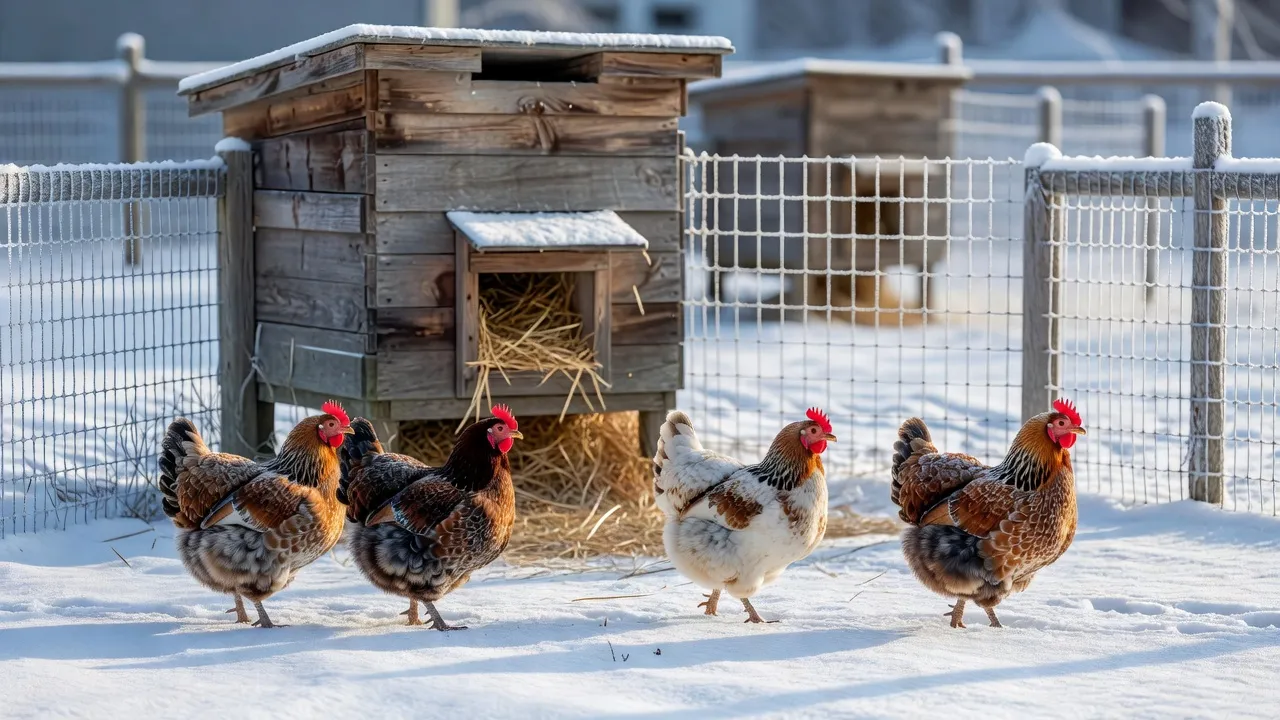
Keep the high vents open all year. Change only the low openings and the windows. The calculator gives you the permanent opening that stays open in every season, and summer windows and doors add on top of it.
| Winter | Summer | |
|---|---|---|
| High permanent vents | Open | Open |
| Low openings and gaps at roost height | Seal them | Open windows and doors, covered with hardware cloth |
| Windows | Open a south-facing window partway, or a small door or window on a warmer day | Open as needed |
| Fans | Not needed | For especially warm or humid periods, never aimed at the birds |
| Bedding | Clean wet spots fast | Same |
The winter row follows University of Minnesota Extension, which lists a partly open south-facing window, roof vents, and a small door or window on warmer days. The summer fan advice follows Oregon State. Windows on the south side also help in both seasons: the Penn State sheet credits them with light and warmth in winter and ventilation in summer.
Do not seal the coop tight when the cold comes. Extension sources point the other way, because moisture needs a way out, and eXtension adds that a well-designed house need not be heated. If you are weighing a heater anyway, read heating a chicken coop first, because a heater in a damp coop is paying to warm wet air.
Common venting mistakes
Five mistakes to avoid.
Sealing the coop for winter traps moisture and leads to condensation. Keep the permanent vents open, above bird height; floor-level vents let cold air blow directly onto the hens. Penn State also warns against openings directly over the roost, so offset them or use a hood to direct the airflow.
Cover each opening with hardware cloth to keep predators out, and add a weather cover so rain and snow cannot blow onto the bedding.
Insulation does not change any of this. The vent area stays the same after you insulate, because eXtension ties moisture on walls and ceilings to missing insulation or missing ventilation. Fit the vent first, then see the insulation guide.
Questions people ask
How much ventilation does a chicken coop need?
Plan on 1 square foot of vent for every 10 square feet of floor, per Meyer Hatchery's rule of thumb, placed high above the roost. Oregon State Extension says to build in as much ventilation as you can without creating drafts or letting predators in, so treat the rule as a floor.
Do chickens need ventilation in winter?
Yes. University of Minnesota Extension says high moisture plus cold weather makes condensation, and condensation can cause frostbite. Keep the high vents open all winter and block drafts at roost height instead of sealing the coop.
Where should chicken coop vents go?
High on the wall or in the gable, well above the highest roost, under a cover so snow stays out, and on the side away from prevailing wind. Penn State Extension also says not to open vents or windows directly over the perching area. Cover every opening with hardware cloth.
Will vents make my coop too cold?
Not if they sit above the roost and you seal gaps at bird level. A Penn State sheet hosted by UT Extension says poultry handle cold very well as long as they stay dry, and a vent is how a coop stays dry.
Do I need a fan to vent a chicken coop?
Usually not. Oregon State Extension says passive ventilation through windows and vents in gables, eaves or the roof is adequate for most backyard coops. It suggests fans only for especially warm or humid periods, and not aimed straight at the birds.
Sources
- Meyer Hatchery: Ventilation in your coop and why it is important
- Oregon State Extension: Living on the land, backyard chicken coop design (EC 1644)
- Penn State Extension: Small scale poultry housing
- Small Scale Poultry Housing, P. Clauer (hosted by UT Extension, Coffee County)
- eXtension: Small-scale poultry housing overview
- University of Minnesota Extension: Caring for chickens in cold weather

Written by Kyle
Kyle has kept backyard chickens on his own small farm for five years. He reads the extension research, the spec sheets and the owner complaints, then tells you what he would buy and what he would skip.