On this page
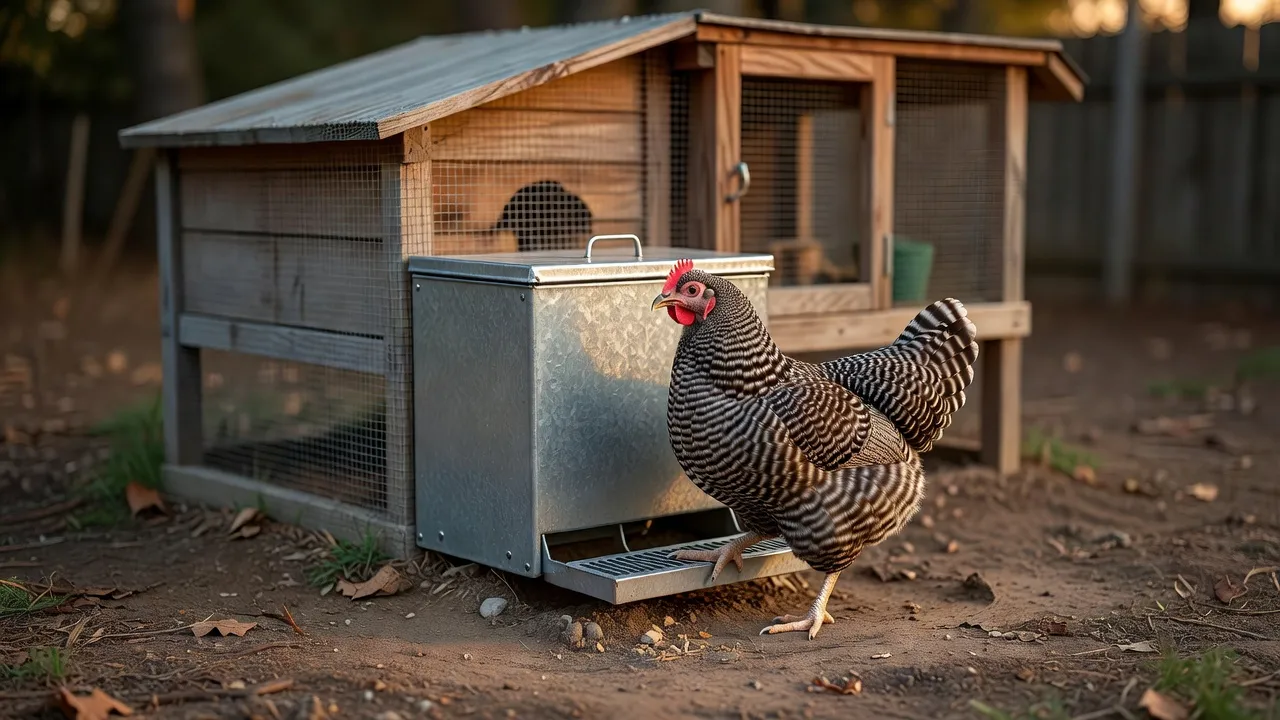
Start DIY chicken feeders with a lidded bucket and purpose-made ports because you can remove the lid to inspect and clean the container. Choose a trough when you want direct access to feed without a narrow outlet. Build a vertical PVC hopper when wall space is easier to spare than floor space.
The right homemade feeder must do more than hold a bag of feed. You need to see that food reaches the opening, keep birds from fouling it, and empty every part when cleaning. Plan those jobs before choosing the biggest container you can find.
Short answer
Choose the outlet firstthen choose the container
A port kit with a matching installation guide is the clearest bucket route. A trough avoids gravity-flow problems. A vertical pipe gives compact storage but needs an outlet and base you can inspect.
Compare the builds before buying materials
| Build | Useful feature | Work involved | What to watch |
|---|---|---|---|
| Bucket with purpose-made feed ports | Removable lid and replaceable outlets | Drill holes to the kit’s template; fit ports; support bucket | Wrong port height, loose fittings, crowding |
| Vertical PVC hopper | Narrow footprint and top filling | Fit pipe and outlet; secure to a solid surface | Bridging, damp feed, inaccessible bottom |
| PVC trough | Feed remains visible along its length | Cut an opening, close ends, support securely | Sharp edges, birds climbing in, exposed feed |
| Converted gutter trough | Simple open container | Close ends and make edges safe | Wide opening makes scratching and fouling easier |
Minnesota Extension’s DIY guide describes a pipe trough and explains why mash can pack in a gravity hopper. It also identifies fouling and waste as drawbacks of open gutters. Those are design trade-offs to consider before trying to make one container handle every feed.
The chicken feeder hub brings these builds together with buying comparisons. For complete fittings and assembly checks for a vertical pipe, use the separate PVC chicken feeder guide.
Build option: a lidded bucket with feed ports
Choose a clean container sold for food contact and a feed-port kit intended for your birds. Avoid a previously used chemical bucket, even when it looks clean. Check that the lid is removable, the inside can be scrubbed and the container wall matches the kit’s requirements.
Buy the ports before drilling. Hole size, distance from the bottom and fitting direction depend on the kit. RentACoop’s instruction library provides model-specific manuals for its DIY feed ports. Use the manual for the actual kit in your hands, including any age restriction and rain-hood instructions.
- Read the kit instructions and hold a port against the empty bucket. Check clearance for the internal section and fastening parts.
- Mark the holes with the supplied template. Keep clear of handles, stiff ribs and the curved base where a fitting cannot sit flat.
- Support the empty bucket while drilling. Follow the tool instructions and remove plastic swarf and sharp edges afterward.
- Fit the ports in the specified direction. Tighten as directed and check that the hood and inner lip are fully seated.
- Wash away cutting debris and let the container dry. Put it on a stable support in its intended sheltered location.
- Add a small amount of the normal dry feed. Check flow and watch birds eat before filling the whole container.
Treat the first fill as a setup check. If feed pours out without birds eating, stop and inspect outlet height and fitting orientation. If feed stays in the bucket while the opening empties, check for a blocked internal lip or packed material.
Leave the existing feeder available during the changeover. Confirm that the smallest and lowest-ranking birds use the new ports, rather than counting a confident hen as proof that the whole flock has adapted.
Build option: a vertical PVC hopper
A vertical pipe stores feed above a side opening. It can suit a narrow wall bay, provided you can reach the top and remove the feeder to clean it. The source build and assembly sequence are in the PVC pipe feeder tutorial.
Dry-fit the fittings before cutting the storage pipe to final length. Think through how you will remove trapped feed below the outlet. A permanently closed base can make a cheap build awkward to maintain.
Keep the outlet beneath a roof and clear of runoff. A top cap protects only the top opening. It does not stop wind-driven rain reaching a side port, or make a friction-fit joint watertight.
Use a solid support capable of holding a full hopper. Decide how to remove it without spilling the contents or undoing the coop wall. A refill cap that hits the roof or a mounting strap that blocks a cleanout will become a daily nuisance.
Build option: a PVC or gutter trough
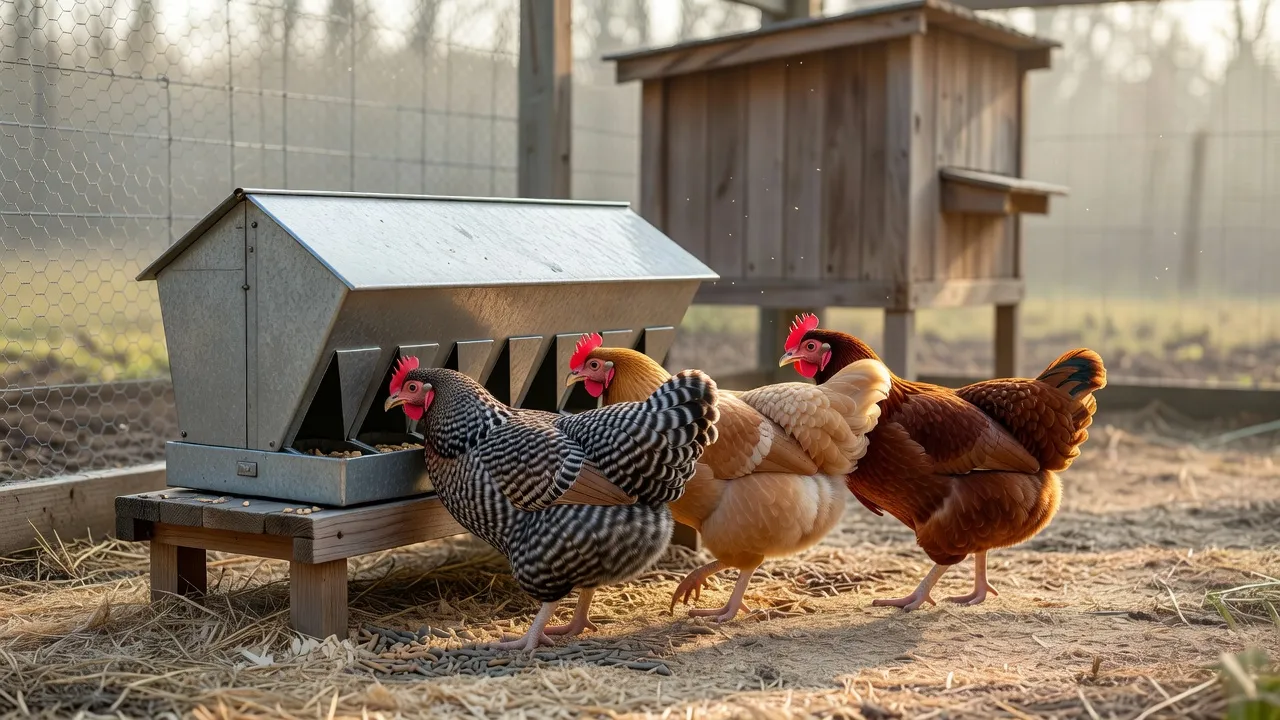
A trough holds feed where birds can eat it directly. It needs refilling by hand, but you can see the whole feeding surface and spot damp feed quickly. Use it under cover and leave enough room to lift it out for cleaning.
For a pipe trough, follow the Minnesota Extension plan. It calls for a longitudinal opening in PVC pipe, closed ends and suspension from the end plugs. Choose the diameter and opening from the plan for the birds using it. Do not cut a wide opening just because it is easier to fill: the curved sides are part of the waste-control design.
After cutting, inspect the entire feeding edge and remove sharp burrs. Check for projecting screws and splintered plugs. Suspend or support the trough so birds cannot roll it over, and keep it clear of roost droppings.
An open gutter is another route, but inspect its coating, previous use and edges before considering it. Minnesota’s guide notes that birds can sit in a wide gutter and soil the feed. A discarded building component with unknown residue is a poor starting point for a feeding surface.
Set the eating height for the birds
Maryland Extension advises placing conventional feeders at the birds’ back height and using a lip or guard to limit spilling and scratching. Recessed ports need a separate reach check: birds must get their beaks to the feed without straining or rubbing against the opening.
Build for the birds you have, including smaller flock members. A feeder that works for adult hens is not automatically suitable for chicks. Minnesota’s chick guide describes age-specific equipment and adjustments as birds grow. Use suitable chick equipment while a homemade adult outlet is out of reach.
Check a no-waste claim at your own feeder
Start with a clean patch beneath the feeder, then look for where spilled feed appears. Feed directly below an unused opening suggests a leak. Feed spread outward while birds eat points toward raking, excessive fill or a poorly placed lip. Bedding kicked into the opening suggests placement needs attention.
Change a single feature at a time and record what changed. Compare spill collected over the same routine, and note weather and feed form. Do not treat reduced topping-up as proof of reduced waste until you know all birds are still eating.
Price the complete build and keep it serviceable
List the container, fittings, ports, caps, supports and tools you need to buy. Include the cost of replacing a mistake or a cracked fitting. A DIY chicken feeder can make sense when you already own useful materials, but that does not establish a universal cheap-build price.
Before committing, compare your complete list with the ready-made feeder options. Buying a finished feeder can be worthwhile when it includes a secure mount, replaceable parts and a clear cleaning method.
Inspect feed flow and access during each flock check. Empty spoiled feed, remove the cause of dampness, and let washed parts dry before refilling. Store spare feed securely and clean spills from the enclosure. For pests, pair the build with the rat-proof feeder guidance.
Questions people ask
What is the best homemade chicken feeder?
Choose by feed and placement. A bucket with purpose-made ports gives you a removable lid and gravity outlets. A wall-mounted PVC hopper fits narrow spaces. A trough exposes feed directly and avoids relying on a hopper outlet.
Can I build a zero-waste chicken feeder?
Treat zero waste as a goal to check, rather than a guarantee. Watch for feed raked from the opening, an outlet that leaks and birds scratching in a trough. Compare spilled feed before and after changing the design.
Are homemade chicken feeders rat-proof?
Open feeding ports and troughs leave feed accessible. Removing spills and closing feed access after birds settle helps manage the food source, but the enclosure and feed storage need attention too. See the rat-proof feeder guide.
Can I make a feeder from a plastic bottle?
A small bottle build needs close supervision and cleaning access. A narrow neck or cut edge can prevent a bird reaching food or leave a rough surface. I would choose purpose-made chick feeding equipment or a washable container with known material and a secure outlet instead.
How much does a DIY chicken feeder cost?
Price the complete local shopping list, including tools, ports, caps, mounting and delivery. No current build price has been verified for this guide. Compare the total with a ready-made feeder before cutting anything.
Sources

Written by Kyle
Kyle has kept backyard chickens on his own small farm for five years. He reads the extension research, the spec sheets and the owner complaints, then tells you what he would buy and what he would skip.